Profiles
The Profiles feature is available for GeoMoS Now! Survey Edition users
after a successful log in as an Administrator or an Editor. It is used
to create 2D profiles with a defined azimuth in order to calculate longitudinal
and transverse displacements.

|
Only GeoMoS Now! Survey
Edition Cloud version users can use Profiles menu due to
technical reasons. For all other deployments of GeoMoS Now!, profiles
are taken over from GeoMoS Monitor. The main purpose of Profiles
feature is 2D displacement calculation. |

Create a profile
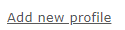
Selecting Profiles in Configuration menu enters the profiles overview.
From there profiles can be created by clicking the following link:
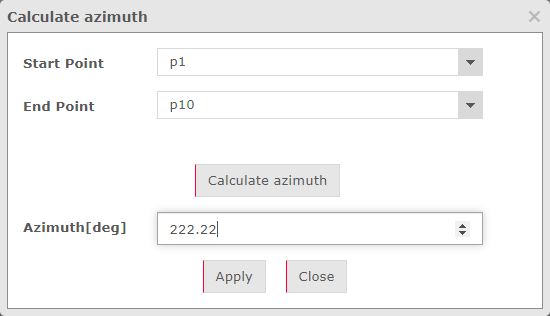
The user has to appoint a name and an azimuth to the profile. The azimuth
can either be manually entered or calculated from the start and end point
of the profile. The azimuth unit corresponds to the Angles unit selected
in Settings - Units.
The azimuth is calculated from the Null coordinates of selected points.
In the second step of the Profile Assistant, points need to be appointed
to the selected profile. To assign points to a profile, please refer to
the Point management page.
Edit a profile
To edit an existing profile click on the modify  icon in Action column of the Profiles overview page. Edit the settings
and store the changes by clicking on Finish button.
icon in Action column of the Profiles overview page. Edit the settings
and store the changes by clicking on Finish button.
|
Only points which are not appointed to any Profile will
be displayed in the Point management page. To move a point from
one profile to another, it needs to be removed from the existing
profile first. |
Delete a profile
To delete an existing profile click on the delete  icon in Action column of the Profiles overview page and click "Yes"
on the pop-up question to confirm.
icon in Action column of the Profiles overview page and click "Yes"
on the pop-up question to confirm.
Profile Overview
Profiles Overview page contains the list of all profiles, which can
be sorted by name.

By clicking on the  icon, the list of all points
which belong to that profile will appear.
icon, the list of all points
which belong to that profile will appear.

Points summary
To get a good overview of points and profiles, there is a Points Summary
table, which is sortable by Point Name and Profile Name.
Longitudinal and transverse displacements
Once the points belongs to the profile, for all incoming data longitudinal
and transverse displacements will be calculated with respect to the profile
direction. There is no post-processing available for existing results,
so in order to recalculate the displacements, the data would need to be
re-imported. For new projects, it's important to define the profiles at
the very beginning.
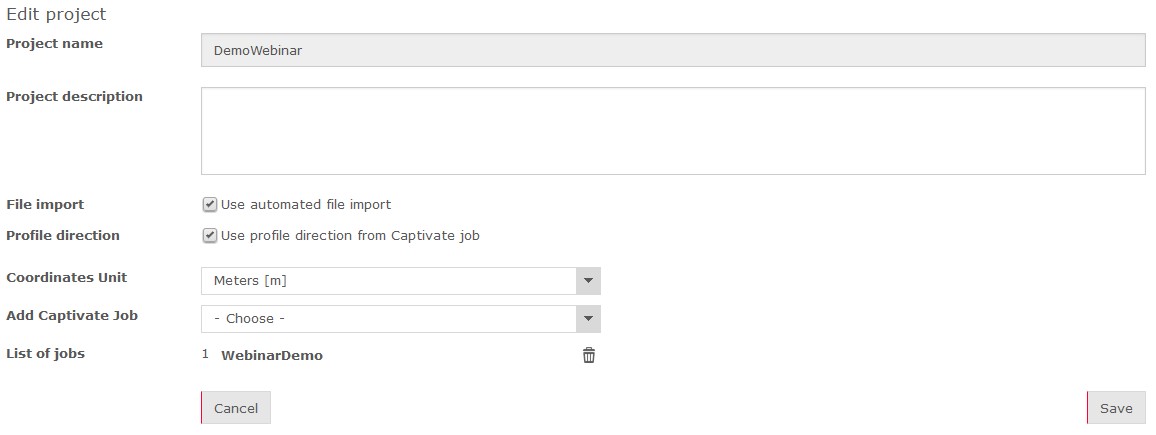
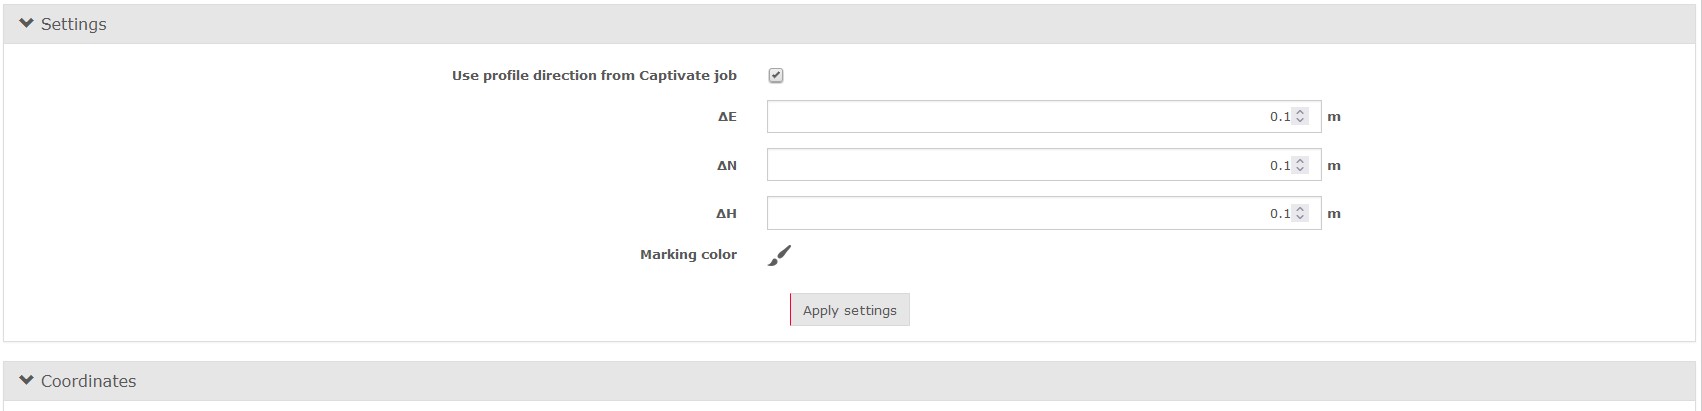
Use profile direction from Captivate jobs
The profile direction that was defined in the Captivate TPS Monitoring
application will be used for the transversal and longitudinal displacements.
This information can either be read in automatically
by activating the setting in Automated import or manually
within the Coordinate Import settings.
The checkbox “Use profile direction
from Captivate job” has to be activated in both cases.
Coordinates
Unit
As the unit inside the files depends on the instrument’s regional settings,
the user can define from the dropdown list, which unit shall be used for
the automatic import.
|
From version 8.0 of the Captivate TPS monitoring application,
the unit for the coordinates is fixed to meters and the unit for
the azimuth is fixed to gon. |
Add Captivate
Job
The Captivate Job can be selected and added from the dropdown list.
|
The Captivate Job must be already sent from the Captivate
TPS monitoring app to the GeoMoS Now! to be shown in the dropdown
list. |
|
Multiple Captivate Jobs can be added to the project. |
List of Jobs
The added Captivate Jobs can be viewed in the List of Jobs.
By clicking on the delete button  ,
the Captivate Job is deleted from the project.
,
the Captivate Job is deleted from the project.